Looking to supercharge your web development workflow? Look no further than Cypress - the end-to-end testing tool that’s taking the industry by storm! In this exciting new series, we’ll explore all things Cypress, from the basics of getting started to advanced features and comparisons with its competitors. In this first article, we’ll dive into the world of Cypress and show you how easy it is to get started using this powerful tool. Get ready to take your development game to the next level - let’s get started with Cypress!
What is Cypress used for?
Tests are and always have been important in a project. There are many types of testing such as unit testing and integration testing.
Cypress focuses on end-to-end testing (E2E). The E2E tests allow us to validate the user experience through predefined scenarios. These scenarios will describe a group of actions that an average user will perform on our site. These tests do not care about the internal implementation of our product, but will adopt the point of view of a user to verify the general behaviour of our product. This javascript dependency in your front-end projects will allow you to test your website from a user point of view.
Let’s move on to a practical case study to see how to use Cypress and hopefully make you want to try it too!
Case study
Preparation
For this case study, we will use the Lunatech blog: https://blog.lunatech.com. We will implement the following scenario:
- Access to the blog
- Check that there is at least one article on the home page
- Filter by author X
- Check that all remaining articles are made by author X
The first thing to do is to open our JS/TS project and install Cypress.
It’s as simple as that:
yarn add cypress --dev
OR
npm install cypress --save-dev
For the example, we will put all our logic in the cypress folder and test with the chrome browser.
To save you time and not type the full path to the Cypress executable, I suggest you put this script in your package.json:
"scripts": {
  "cypress:open": "cypress open"
}
In this first article about Cypress, we will organize the code very simply, but in the following article we will explore good practices to ensure clean and maintainable code over time.
You can now run:
npm run cypress:open
This command will open a graphical interface to interact with Cypress. You should see the screen below:
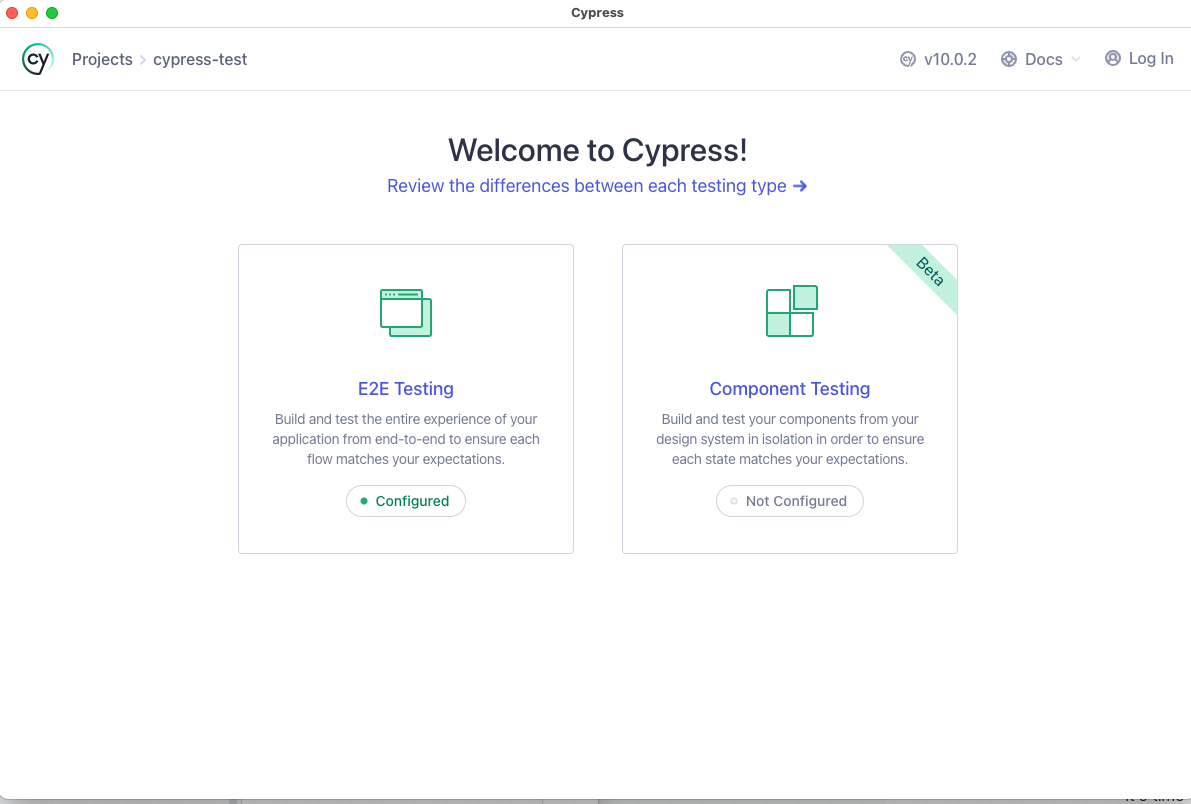
On this screen, you can choose E2E testing (we will come back to all the subtleties of Cypress in the next article including Component Testing).
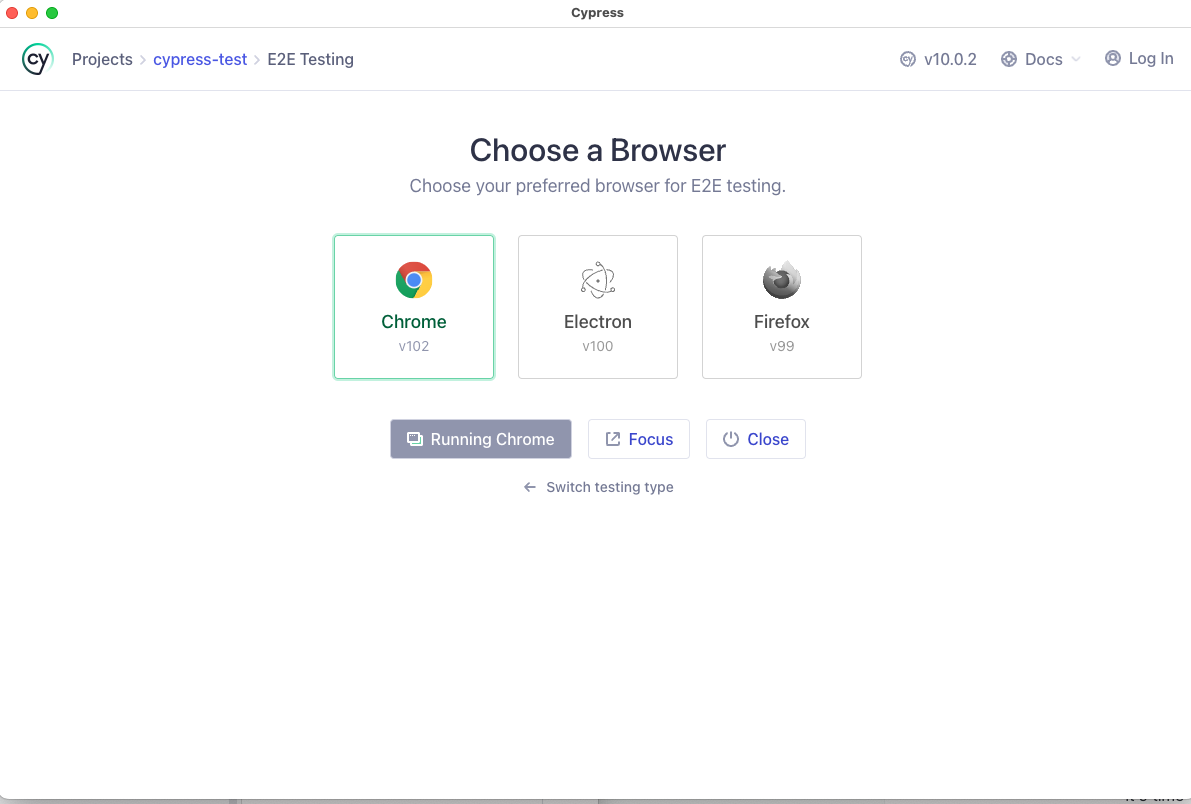
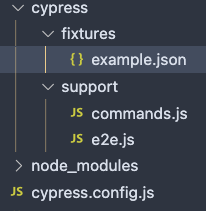
You can choose different browsers. In our case, we will use Chrome. Cypress will then create a base project to start your tests. If all went well, you should have this file structure:
Now you have everything in place to move on to the practical case. Don’t close the GUI so you can see your changes in real time!
Building out the example
Access the blog
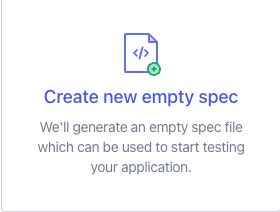
In the GUI, you can click on Create new empty spec to have a new base file to implement our case study:
The first step in our example is to access the Lunatech blog which is at the following address: https://blog.lunatech.com.
We just have to edit the spec.cy.js file created previously by Cypress.
describe('First test with Cypress', () => {
 it('should visit', () => {
   cy.visit('https://blog.lunatech.com/')
 })
})
We can use cy to access the toolbox provided by the tool.
visit(url) will indicate that we have to go to this url.
For the rest of the tests, there is no need to add timeouts to wait for the page to load, because Cypress takes care of that for us!
After saving your file, you can click on it in the graphical interface to launch our scenario:
After running the test, you should see the Lunatech blog home page as below:
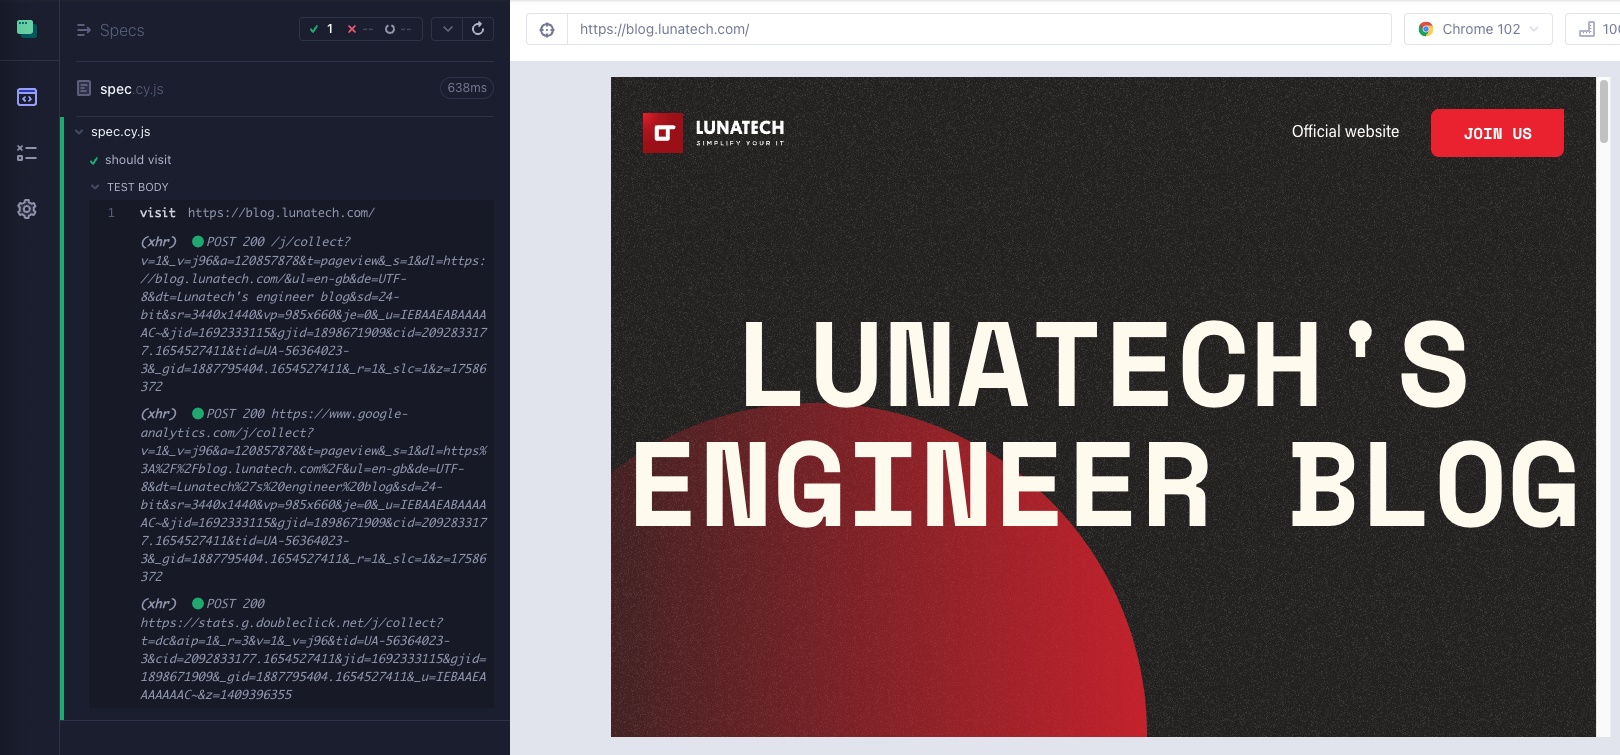
The left part of the screen will log all the actions performed. The right part will show in real time what is happening on the website.
Do not close this screen, as the rendering will be updated automatically as you make changes!
Checking the loading of blog posts
The second step is to check that we have blog posts on the main page.
We don’t have access to the site’s code, so we use our browser’s inspector to find a way to target the items we’re interested in.
After checking, we see that all the post previews have the class lb_post.
So we can use this identifier for our example.
describe('First test with Cypress', () => {
 it('should visit', () => {
   cy.visit('https://blog.lunatech.com/')
   cy.get(".lb_post").its('length').should('be.gt', 0)
 })
})
The code is very easy to read.
We expect there to be at least one item on the page (gt stands for greater than).
After saving, we see the result directly in the GUI:
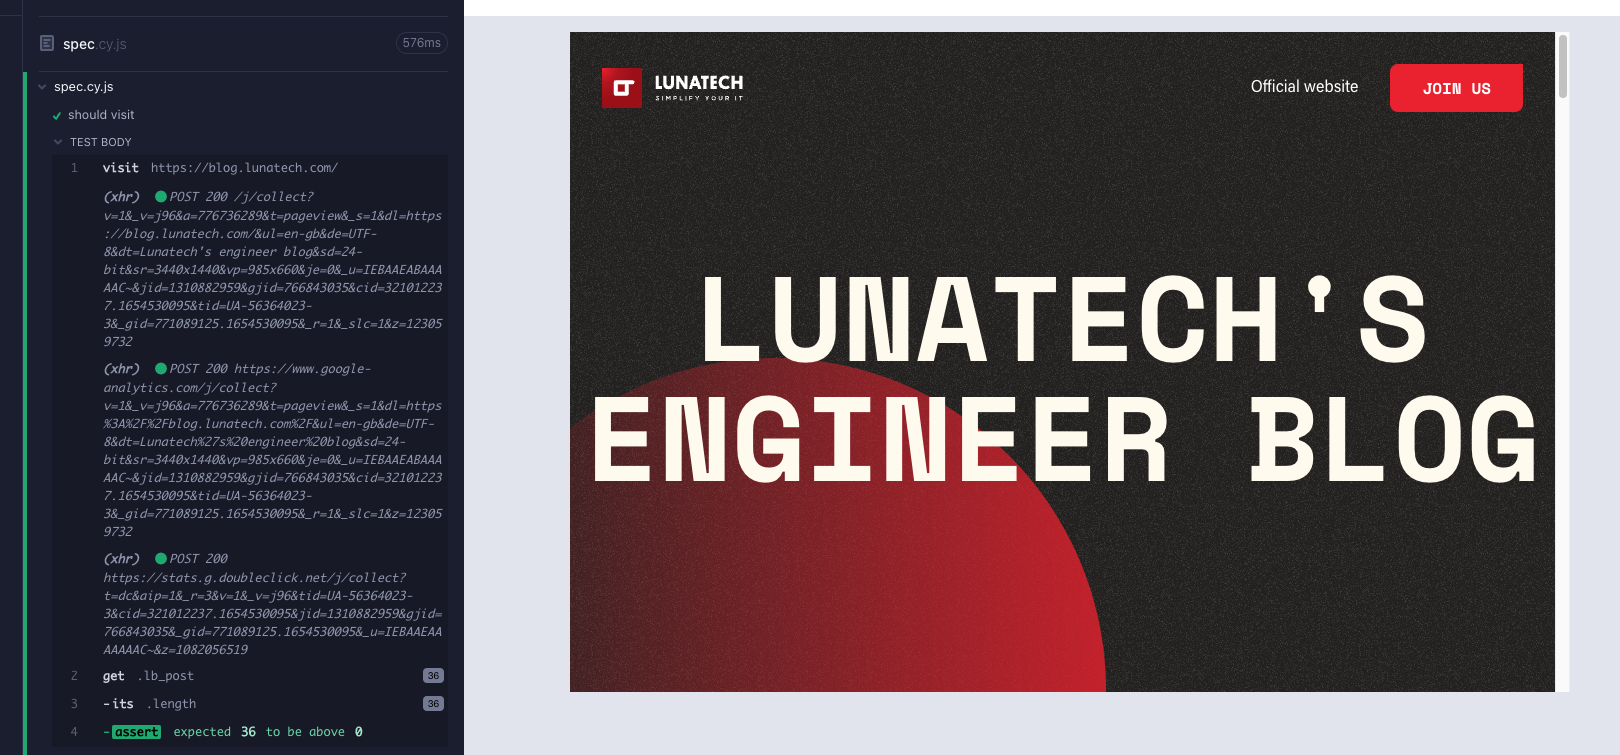
At the bottom left, you can see expected 36 to be above 0 as we wanted.
Let’s imagine that during the writing of our test, we made a mistake.
Instead of greater than, we specify lower than:
describe('First test with Cypress', () => {
 it('should visit', () => {
   cy.visit('https://blog.lunatech.com/')
   cy.get(".lb_post").its('length').should('be.lt', 0)
 })
})
Thanks to the hot reloading, we can detect our error as soon as possible with a simple and clear message:
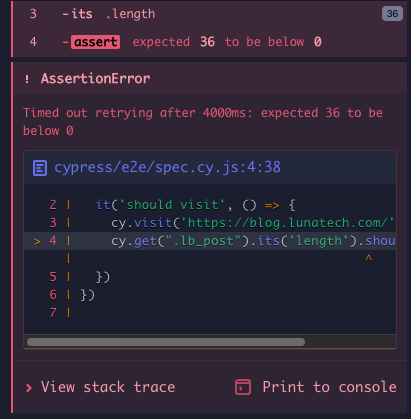
Cypress really allows to have a quick and clear feedback in order to debug our code as soon as possible!
Sort by author
Let’s go to the last step, filter by author. A bit more complicated, but not impossible with this tool! First thing to do, simulate a mouse click on an author to activate the sorting. We will take me as an example (Vincent Brulé). We have to find an element corresponding to my name and click on it. The element we are interested in is the following one:
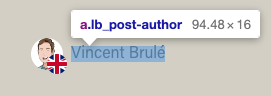
There are several ways to proceed. For the example, we will search for an element with the text Vincent Brulé without using a class or an identifier.
I’m not a big fan of this technique because if the content changes, our test will no longer work. We’ll come back to good practices in the next article.
We can use the command contains which allows us to select an item based on its text (equal or with a regex for example).
To be sure that everything worked well, we will check that the new URL points to the right author and check that all the previews correspond to my articles.
describe('First test with Cypress', () => {
 it('should visit', () => {
   cy.contains('Vincent Brulé').click()
   // We check the content of the url
   cy.url().should('include', 'VincentBrule')
   // We check that the author of all the previews in the page is Vincent Brulé
   cy.get(".lb_post-author").each((author) => {
      expect(author.text()).to.equal('Vincent Brulé')
   })
 })
})
We save and that’s it, our example is already implemented! By the way, a very useful feature of the graphical tool is to be able to explore the steps and see directly on the right side the actions performed by Cypress. For example, at the end of our example, we see the page with only my articles:
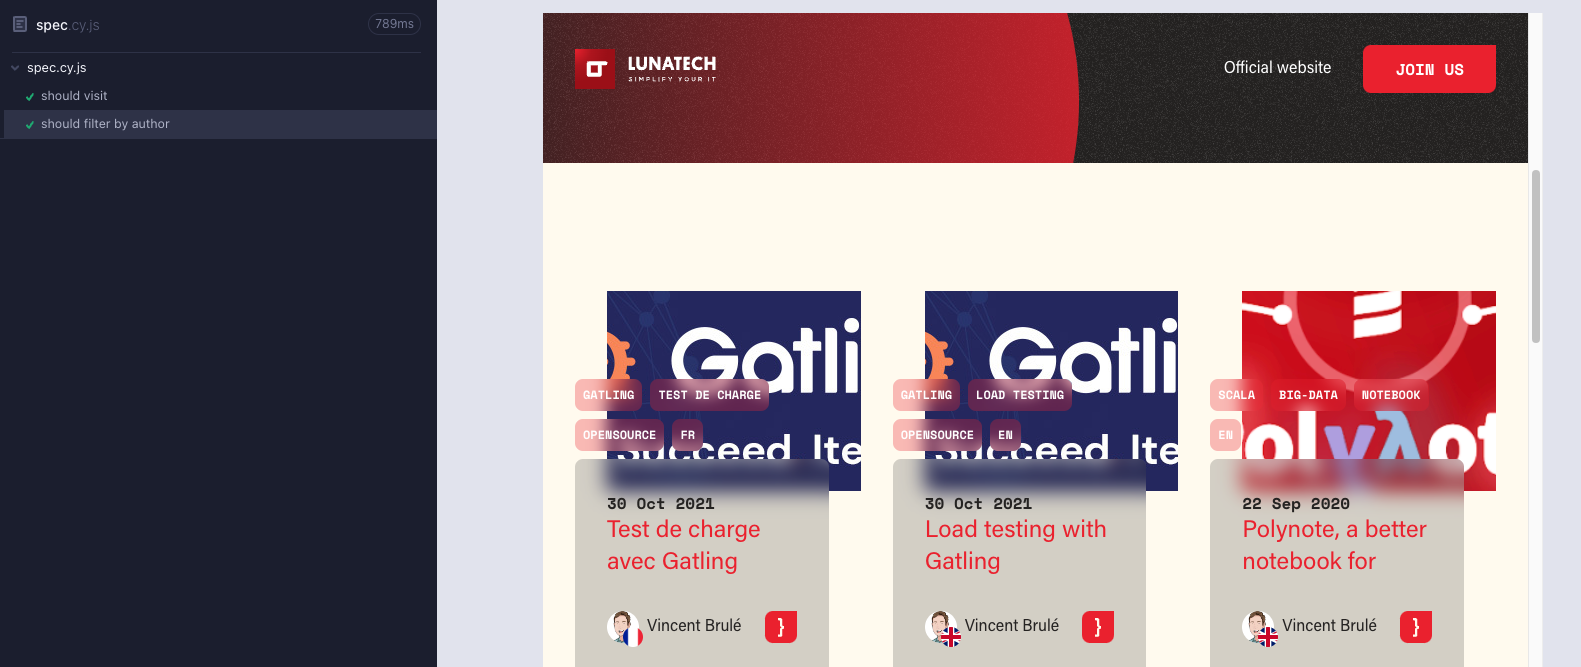
And if we move the mouse over the first step where we have selected all the articles, we see in the rendering, the home page with all the elements in blue:

This is very useful for debugging and you can also record a video of all these actions to debug later for example!
We’ve reached the end of this first article about Cypress. I hope I’ve whetted your appetite for more, because we’ll explore the details of how Cypress works and best practices in the next article!